
Last updated November 15, 2026
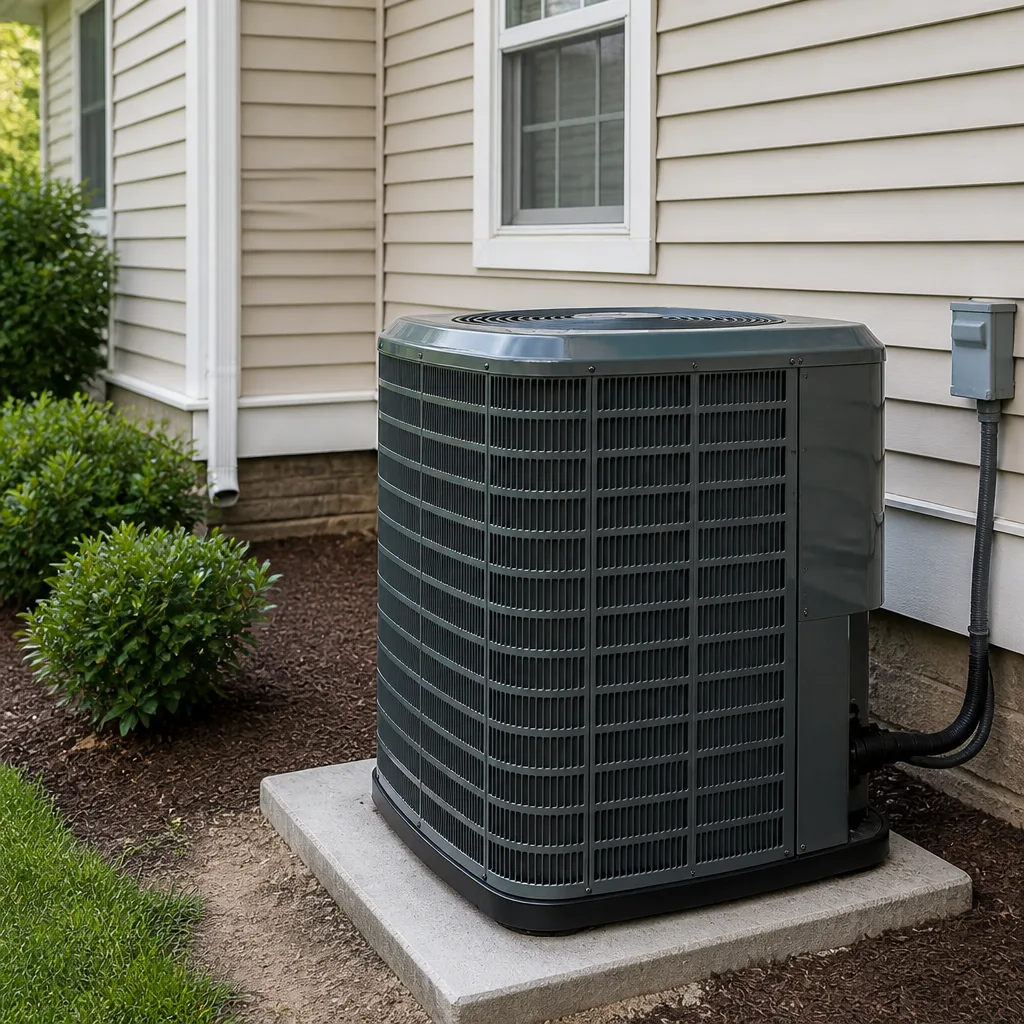 AC repair
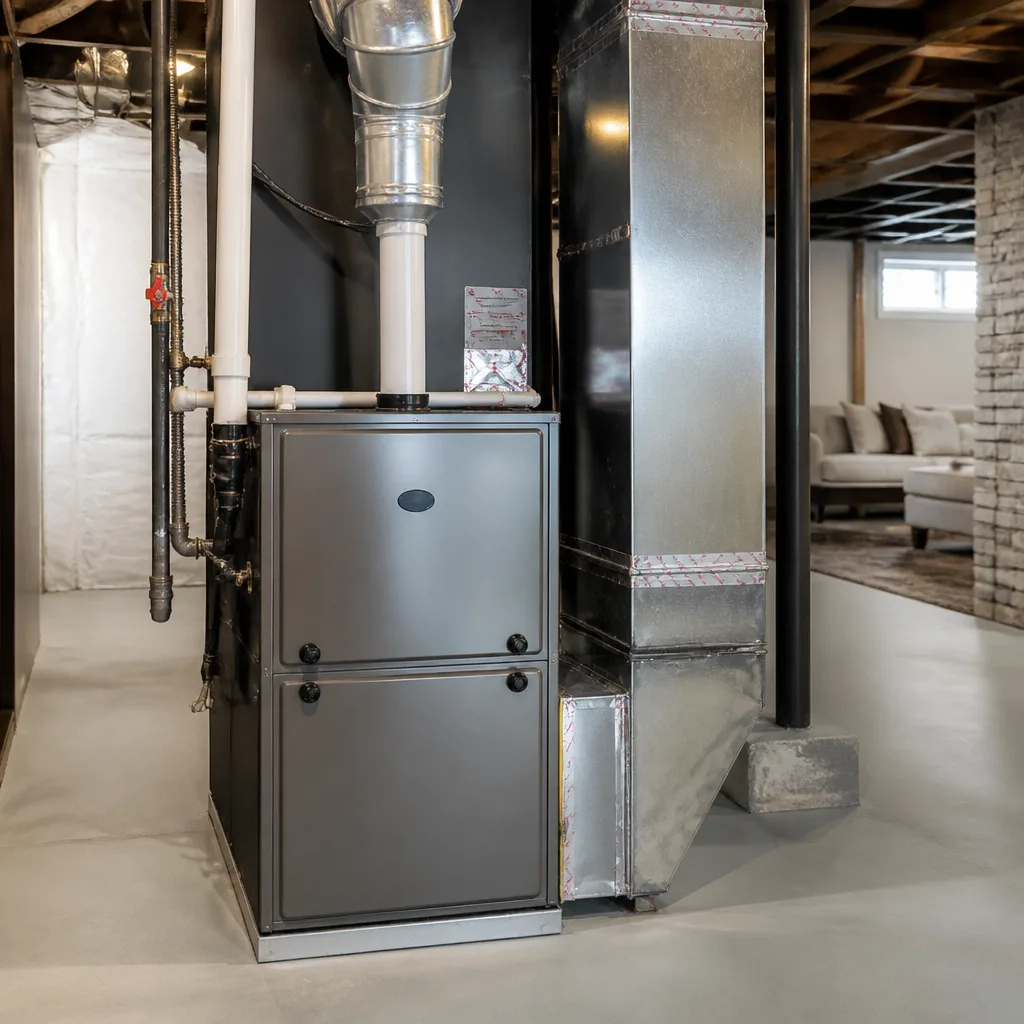 Furnace & heating
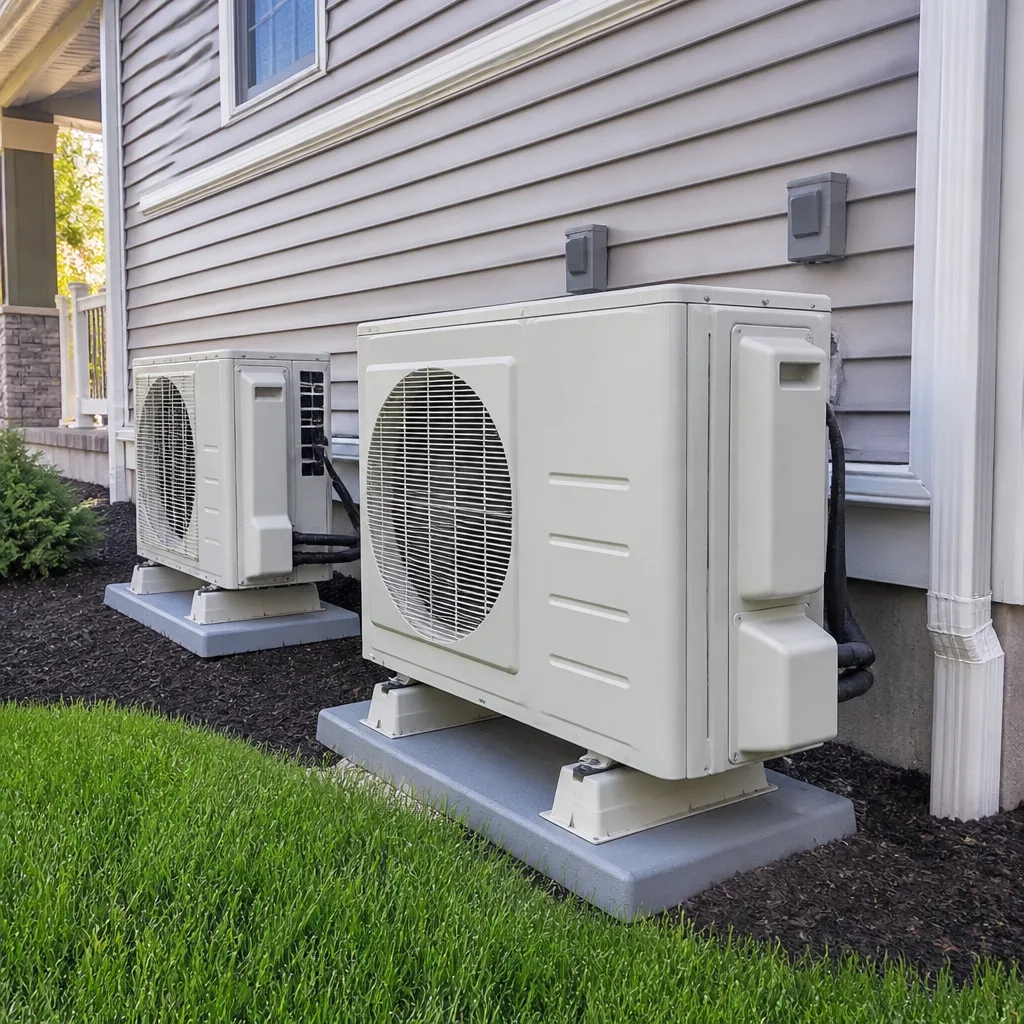 Heat pumps
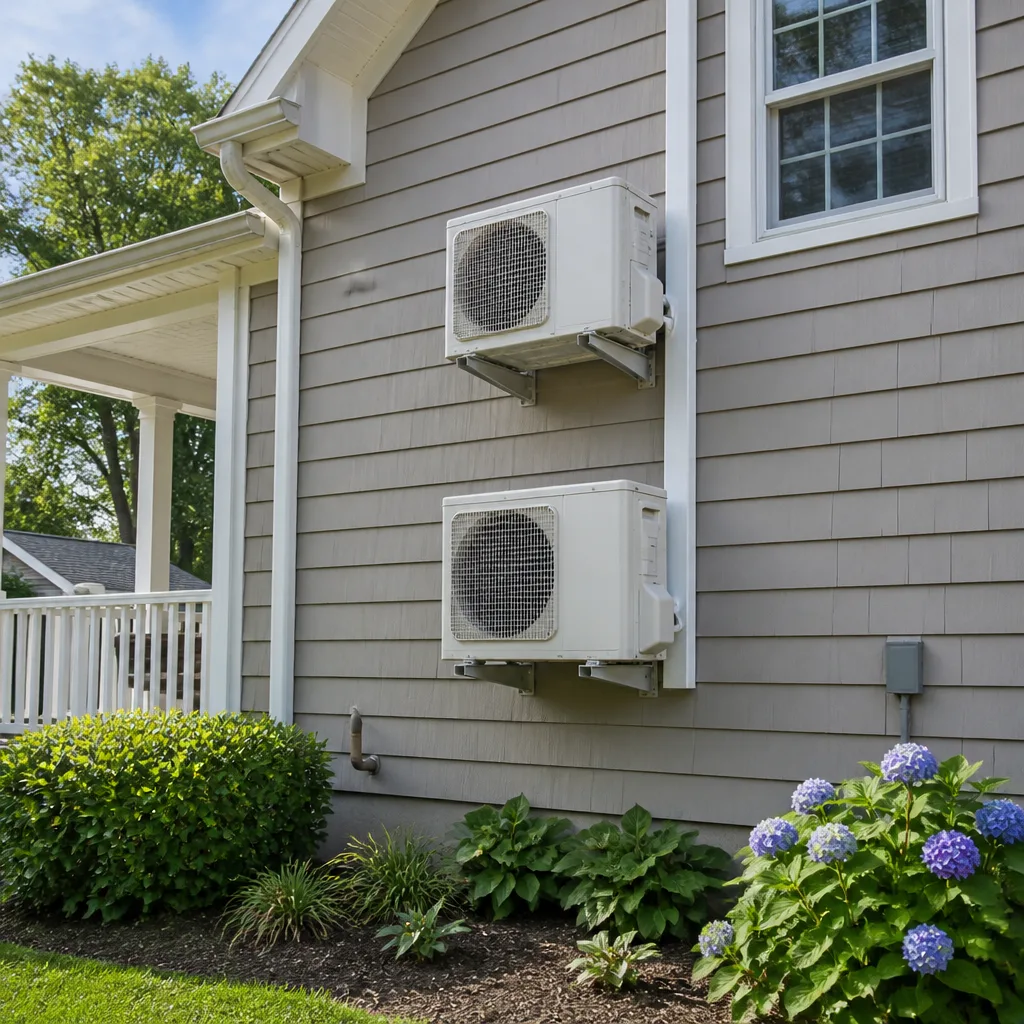 Ductless mini splits
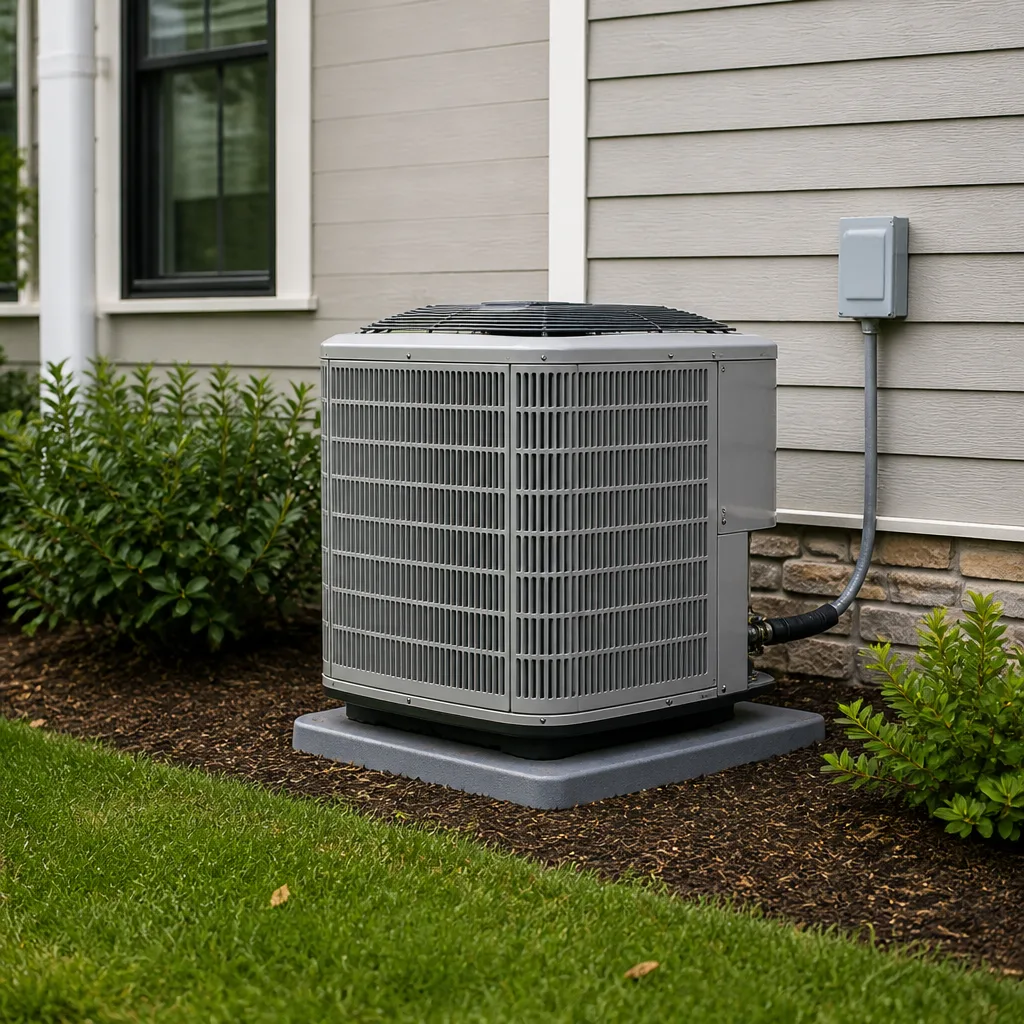 Carrier
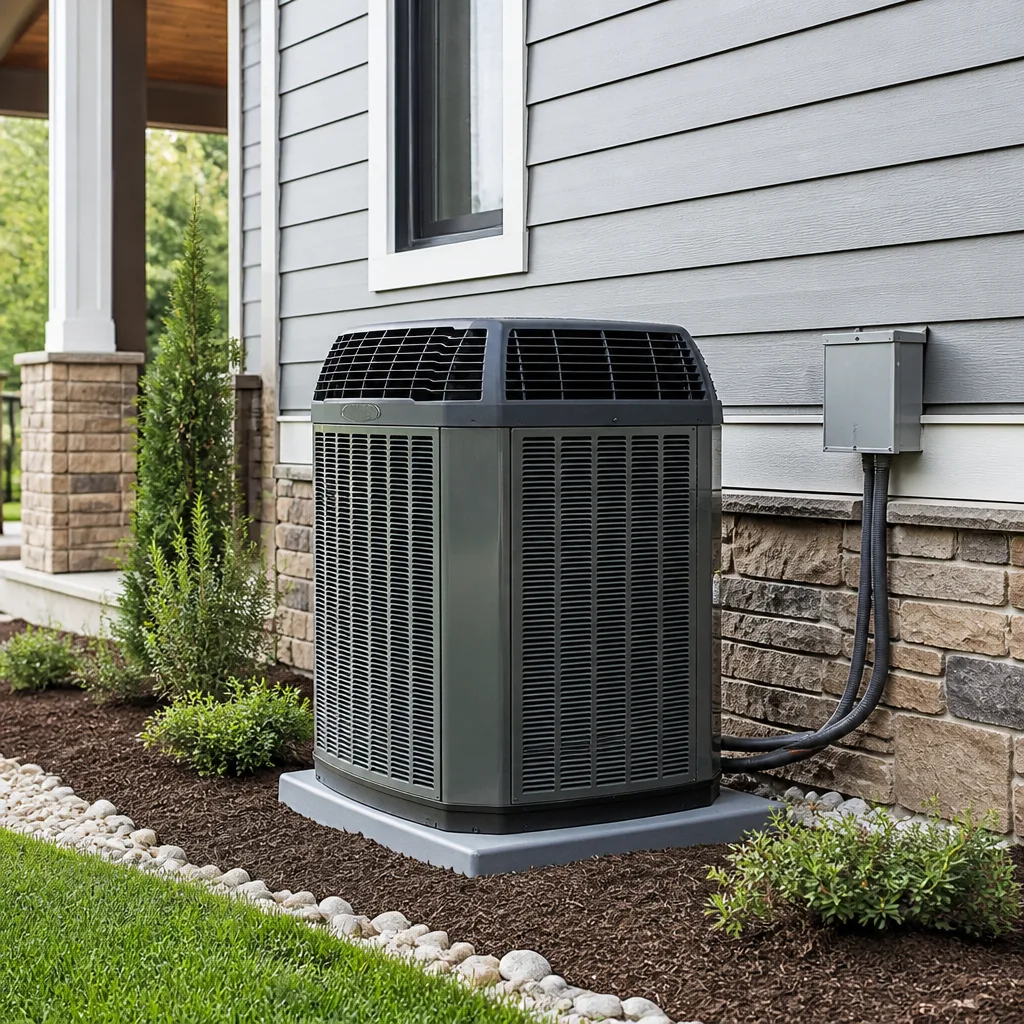 Trane
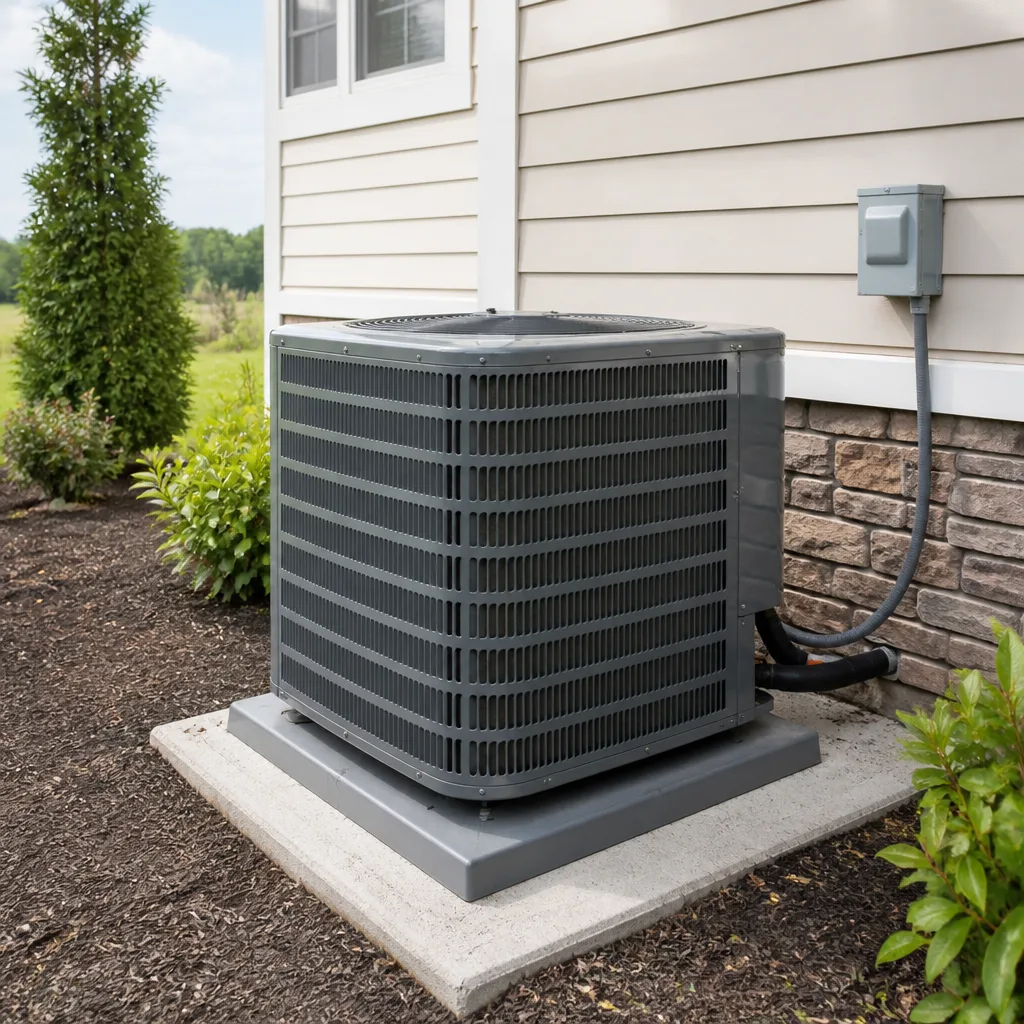 Goodman
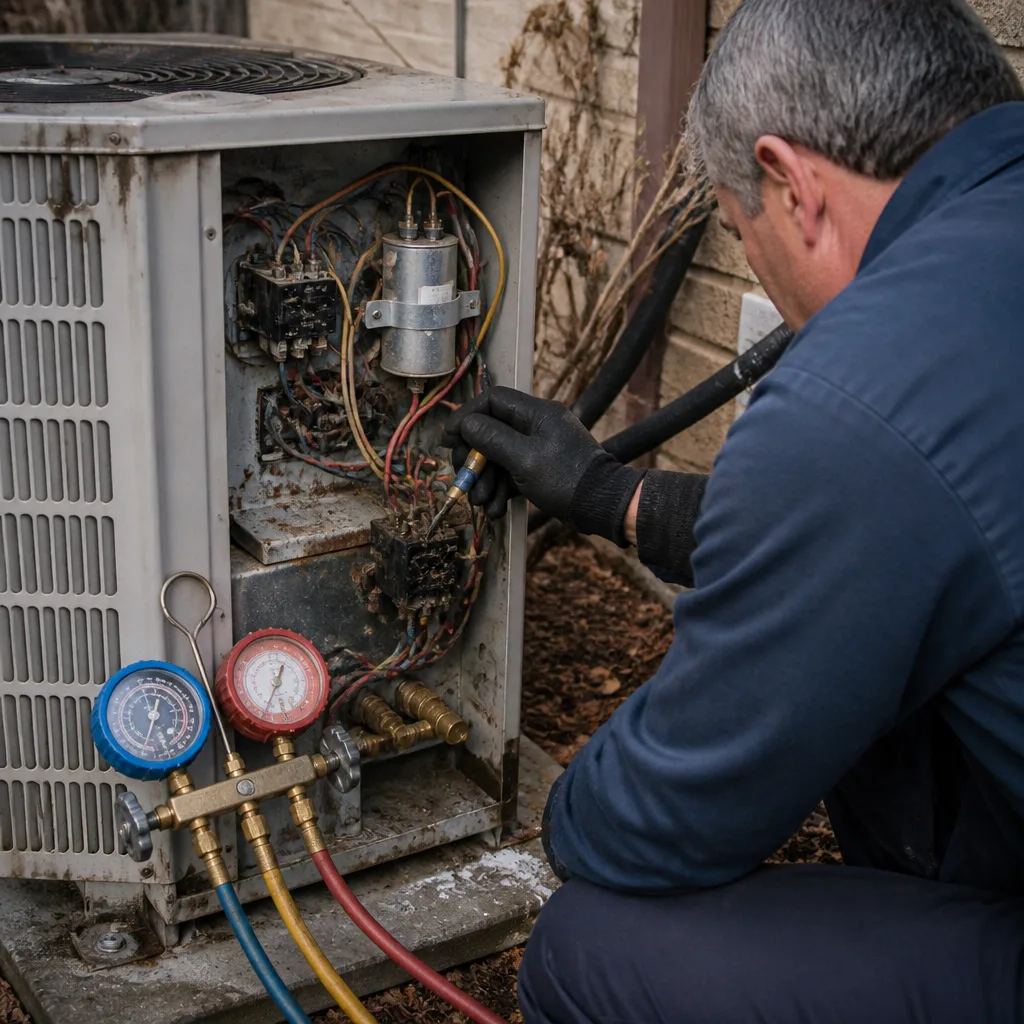
Seasonal tune-up and full diagnostic on your Carrier, Trane, or Goodman system - readings shown to you before any repair is proposed
Diagnosis first, numbers second - you approve the repair price before a single part goes in.
Get your free estimateThe Complete AC Installation Guide for Richardson Homeowners
Most AC installation advice you’ll find online is written for a generic house in a generic climate. Richardson isn’t generic. The attic over your living room can hit 150°F on an August afternoon, and the black clay under your condenser pad swells and shifts with every wet spring. A system sized and set on a clipboard formula will run harder than it should from the day it’s switched on. This guide walks you through what a proper installation actually involves here: load calculations built for our housing stock, pad work that survives our soil, permits through the City of Richardson, refrigerant choices that match where Texas is heading, and the checklist you should see completed before anyone hands you the thermostat. By the end you’ll know exactly what to ask and what to verify.
Quick Answer
A correct AC installation in Richardson starts with a room-by-room Manual J load calculation that accounts for our attic heat, brick exteriors, and 1970s through 1990s housing stock, not just square footage. From there you need a stable condenser pad suited to clay soil, a permit through the City of Richardson Building Inspection Division, and a system matched to the refrigerant transition Texas is moving through. The job isn’t finished until static pressure, refrigerant charge, and thermostat calibration are tested and documented in writing.
Styles & brands we work with
- AC repair
- Furnace & heating
- Heat pumps
- Ductless mini splits
- Carrier
- Trane
- Goodman
Table of Contents
- Why Manual J Load Calculations Matter More in Richardson
- Clay Soil and Your Condenser Pad
- Permits and Inspections in Richardson
- Refrigerant: R-410A vs. R-454B and System Lifespan
- Sizing, Brand Tiers, and Matching Equipment to Your Home
- The Installation Checklist You Should Demand
- What the Installation Timeline Looks Like
- What AC Installation Costs in Richardson
Why Manual J Load Calculations Matter More in Richardson
Manual J is the industry-standard method for calculating how much cooling a house actually needs, room by room. It looks at window orientation, insulation levels, duct design, air infiltration, and local design temperatures. A contractor who sizes your system by square footage alone is guessing, and in Richardson that guess runs high most of the time.
Here’s why. Our summers push design temperatures into the high 90s and beyond, and the attic above your ceiling can climb to 150°F. That radiant heat load pours down through the ceiling assembly all afternoon, especially on west-facing rooms. A house with a large west wall and older single-pane windows carries a very different load than a same-sized house with shade trees and newer glass.
Richardson’s housing stock makes this more complicated. Homes built from the 1970s through the 1990s often have duct systems sized for the original equipment, and if someone installed a larger unit somewhere along the way without touching the ducts, static pressure climbs and airflow drops. Brick exteriors, common throughout Richardson, hold heat and release it slowly into the evening, which stretches the cooling load past sunset.
A proper Manual J accounts for all of it. Ask to see the report. It should list each room, the calculated load, and the assumptions behind it. If a contractor can’t produce one, that’s your first red flag. Our technicians have up to 14 years of experience and we run a load calculation on every AC installation we quote, because equipment matched to a real number performs better and lasts longer.
Clay Soil and Your Condenser Pad
Richardson sits on expansive clay, and that clay moves. When it soaks up spring rain it swells; when summer dries it out, it shrinks and settles. A condenser sitting on a thin plastic pad poured over unprepared ground will tilt within a season or two, and a tilted condenser means a tilted compressor, noisy operation, and premature wear on the whole outdoor unit.
A proper pad installation looks like this:
- Excavate and compact. Remove the top layer of soil and compact a base of crushed stone so the pad has something stable to sit on.
- Use a real pad. Either a poured concrete pad of adequate thickness or a composite pad designed for HVAC equipment. Thin prefab plastic pads are not enough on clay.
- Set it level and elevated. The pad should sit slightly above grade so water drains away, not toward the unit.
- Check the drain path. Condensate and rain runoff should flow away from the foundation and away from the pad.
- Anchor the unit. Bolted down to the pad, not just resting on it.
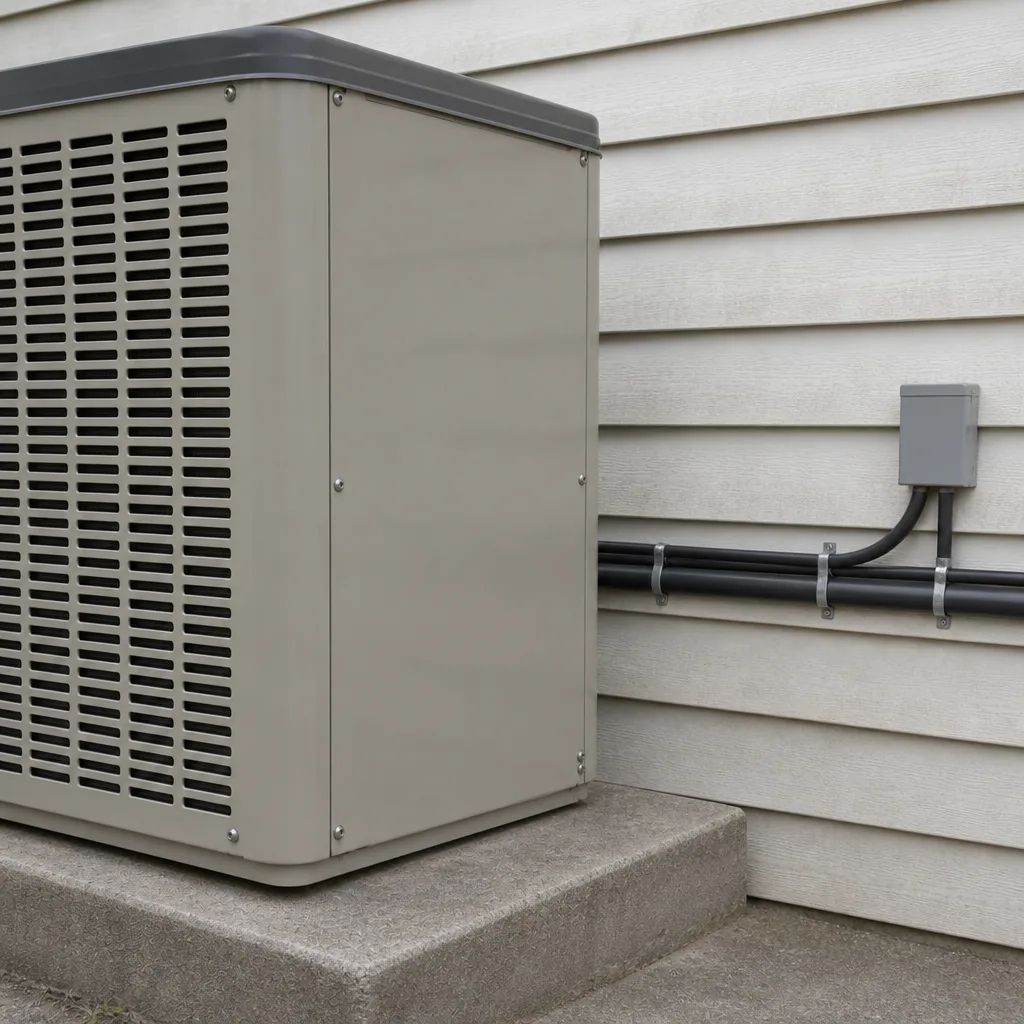
Watch for pads that are already cracked, sunken on one corner, or sitting in a low spot that holds water. If you’re replacing a system, replacing the pad is often part of the job, and it’s a line item you should see on the written estimate. A level condenser runs quieter and the compressor lives longer.
Permits and Inspections in Richardson
AC replacement and new installation in Richardson requires a permit through the City of Richardson Building Inspection Division. This isn’t a formality. The permit triggers an inspection that confirms the equipment is installed to code, the electrical connections are sound, and the work matches what was permitted.
Before work starts, verify these things:
- The contractor pulls the permit. Ask who is pulling it and get the permit number once it’s issued. If a contractor suggests skipping the permit to save time, walk away.
- The permit matches the work. The equipment model, tonnage, and location should match what’s actually being installed. A permit for a like-for-like swap when the job is a full system change is a problem.
- The inspection happens. The city inspection should be scheduled and passed before the job is considered closed. Get documentation.
- Licensing and insurance are current. Ask for proof. In Texas, HVAC work requires a state license, and any reputable contractor will hand over proof without hesitation.
Permits protect you. If a system is installed without one and something goes wrong later, you can end up holding the problem. Unpermitted work can also complicate a home sale in Richardson, since buyers and inspectors look for records of major mechanical work. Ask your contractor directly: who pulls the permit, when is the inspection, and will you receive the passed inspection paperwork. A contractor who answers all three without flinching is the one you want.
Refrigerant: R-410A vs. R-454B and System Lifespan
For years, R-410A was the standard refrigerant in residential AC systems. It’s being phased down nationally in favor of R-454B, a lower-global-warming refrigerant. Texas has been moving through that transition on an accelerated timeline, which means homeowners in Richardson buying a new system right now face a real decision about which refrigerant their equipment will use for the next 15 years.
What this means in practice:
- R-410A equipment is still available but the supply of R-410A refrigerant will shrink over time as production is capped and reduced. Service costs for R-410A systems will rise as refrigerant gets scarcer.
- R-454B equipment is the forward-looking choice. New systems built for R-454B are designed for the refrigerant that will be standard through the life of the equipment.
- Refrigerant types don’t mix. You can’t top off an R-410A system with R-454B or the reverse. The equipment and the refrigerant have to match.
- Think in 15-year terms. If you plan to stay in your Richardson home for a decade or more, buying equipment designed for the current refrigerant standard is the lower-risk decision on service costs down the road.
Ask your contractor which refrigerant the proposed system uses and why. A straight answer, with a clear explanation of the trade-offs, tells you the contractor is thinking past the install date. When we quote a system, we walk through this openly: our technicians are certified to install and repair nine major brands, including Carrier, Trane, Lennox, American Standard, Goodman, Rheem, York, Daikin, and Bryant, so the recommendation comes from the equipment’s fit for your home, not from a single manufacturer’s sales sheet.
Sizing, Brand Tiers, and Matching Equipment to Your Home
Once you have the Manual J load number, sizing falls into place. A system that’s too small runs constantly and never quite keeps up. A system that’s too large cools fast, shuts off, and leaves the house clammy because it doesn’t run long enough to pull humidity out of the air. In Richardson’s humidity, oversizing is a real comfort problem, not a technicality.
Brand tier matters less than matching, but it does matter for budget and parts availability. The market runs from value-tier equipment like Goodman up through premium-tier systems from Trane and Lennox, with Carrier and American Standard in between. The honest answer for most homeowners is that a well-matched, correctly sized system from a mid-tier brand outperforms a top-tier system that was sized wrong.
What to ask when comparing quotes:
- What’s my calculated load? The tonnage should follow from the Manual J, not from the size of the old unit.
- Do my ducts support this system? Duct sizing, static pressure, and return air capacity all need to fit the new equipment.
- What’s included? Line set, pad, drain, thermostat, permit, haul-away of the old equipment, and startup testing should all be listed.
- What’s the warranty structure? Equipment warranty and labor warranty are separate. Get both in writing.
We work across value and premium tiers on purpose, so we can recommend what actually fits your home and your budget instead of steering you toward one manufacturer. Call (855) 419-6908 for a free estimate, and we’ll walk you through the load numbers and what each option means for your Richardson home.
The Installation Checklist You Should Demand
An installation isn’t done when the air blows cold. It’s done when the system has been tested and the results are documented. Here’s the checklist you should see completed, with numbers recorded, before you sign off:
- Static pressure test. Measures resistance in the duct system. High static pressure starves airflow and shortens equipment life. The reading should be within the equipment’s rated range, and it should be written down.
- Refrigerant charge verification. The charge is set by weight or by superheat/subcooling measurement, not guessed. Ask for the target and the measured value.
- Temperature differential (Delta T). The difference between return air and supply air temperature, measured and recorded.
- Thermostat calibration and programming. Verified against a reference, set up for your schedule, and explained to you.
- Drain and safety switch check. Condensate drain flowing freely, float switch tested.
- Electrical check. Voltage and amperage at the disconnect and compressor within spec.
- Filter and airflow check. Correct filter installed and airflow confirmed at registers.
- Permit sign-off. City inspection scheduled or passed, with paperwork in hand.
This is what separates a proper installation from a swap-out. Our technicians have up to 14 years of experience and we document every one of these items in writing, because a system that’s tested on day one is a system you can hold any contractor accountable to. If you’re comparing proposals, ask each contractor whether they’ll provide these readings in writing. The ones who will are telling you something about how they work.
What the Installation Timeline Looks Like
A typical AC replacement in Richardson takes one day for the equipment swap, but the work around it stretches over a few weeks from first call to final inspection. Here’s the general shape:
- Day 1 – site visit and load calculation. We measure the house, inspect the ducts, check the electrical, and run the Manual J. You get a written estimate with equipment options.
- Days 2 to 5 – scheduling and permit. The City of Richardson permit is pulled, equipment is ordered, and you get a confirmed install date.
- Install day. The old system comes out, the pad is set, the new equipment goes in, and the checklist above is completed and documented.
- Within a week – inspection. The city inspection is scheduled and passed, and you receive the paperwork.
Installation is load-calculated, ordered, and scheduled, not same-day work. We’ll give you a written fixed price and a set install date, and we’ll handle the permit paperwork along the way. That’s the right way to do it, and it means no surprises when the crew arrives.
What AC Installation Costs in Richardson
Costs vary with system size, efficiency tier, brand, and whether duct work or electrical upgrades are needed. The ranges below are typical estimates for the Richardson market, not exact quotes. Your written estimate sets the final price.
| Item | Typical Estimated Range |
|---|---|
| Standard-efficiency system, 2 to 3 tons, full install | $5,500 to $8,000 |
| High-efficiency system, 2 to 3 tons, full install | $8,000 to $11,500 |
| System for a larger Richardson home, 4 to 5 tons | $9,000 to $14,000 |
| Composite or poured condenser pad | $250 to $600 |
| Duct modifications if sizing or static pressure require it | $600 to $2,500 |
| City of Richardson permit | Varies by scope; ask for it as a line item |
Call (855) 419-6908 for a free estimate. We answer 24/7. Fast dispatch from 7am to 7pm, Sunday through Friday. We’ll walk you through the load calculation and what each option means for your home.
Common Mistakes to Avoid
- Sizing by square footage alone. Every Richardson house is different on orientation, attic heat, and glazing. A contractor who quotes tonnage before running a Manual J is guessing, and a wrong-sized system costs you comfort and efficiency for years.
- Skipping the permit. If a contractor offers to skip the City of Richardson permit to save time, that’s your cue to find another contractor. Unpermitted work can complicate resale and leaves you without inspection protection.
- Setting the condenser on a thin plastic pad over bare clay. Richardson’s expansive soil will tilt it within a season or two. Pour a proper pad or use a composite pad on a compacted base.
- Ignoring the duct system. A new high-efficiency unit on undersized ducts runs into high static pressure and reduced airflow. It never delivers what the equipment is capable of.
- Choosing R-410A equipment without thinking about service costs. Refrigerant production is being cut back over time, and R-410A service will get more expensive as supply tightens. Factor that into a 15-year ownership decision.
- Not asking for test results. Static pressure, refrigerant charge, and thermostat calibration should be measured and written down. A contractor who won’t document them hasn’t finished the job.
- Comparing only the equipment price. A quote that excludes pad work, permit, duct adjustments, or haul-away is not a lower price. It’s an incomplete one.
See the difference
 Before
 After
 Before
 After
 Before
 After
When to Call a Professional
AC installation is not a homeowner project. Refrigerant handling requires a licensed technician, electrical work at the disconnect is hazardous, and the system has to be charged and tested to spec or it will never perform right. Call a professional when your system is 10 to 15 years old and repairs are adding up, when your electric bills climb without a usage change, when rooms don’t cool evenly no matter what you set the thermostat to, or when you’re planning a replacement and need a real load calculation first. Juniper AC Repair offers free estimates in Richardson. We work across both cooling and heating, so the same company that installs your AC handles furnace repair when winter comes. Call (855) 419-6908. We answer 24/7. Fast dispatch from 7am to 7pm, Sunday through Friday.
Frequently Asked Questions
Typical AC installation in Richardson runs from about $5,500 to $11,500 for most homes, with larger homes going higher. The exact price depends on system size, efficiency tier, brand, and whether duct work or electrical upgrades are needed. Call (855) 419-6908 for a free estimate. We answer 24/7. Fast dispatch from 7am to 7pm, Sunday through Friday.
Yes, AC replacement and new installation in Richardson requires a permit through the City of Richardson Building Inspection Division. The permit triggers an inspection that confirms the work meets code. Ask your contractor to pull the permit and give you the inspection paperwork when it’s done.
A Manual J load calculation matters in Richardson because our attic heat, brick exteriors, and older housing stock create loads that square footage alone can’t capture. A system sized without one runs inefficiently and may not keep up on the hottest afternoons. Ask to see the report before you sign anything.
R-454B is the forward-looking choice for most Richardson homeowners, given Texas’s accelerated refrigerant transition. R-410A equipment is still available, but refrigerant supply will tighten over time and service costs will rise. Ask your contractor to explain the trade-offs for your specific system.
The equipment swap typically takes one day, but plan on one to two weeks from first call to final inspection. That’s because load calculation, permitting, ordering, and the city inspection all happen around the install day. You’ll get a written fixed price and a set install date before work begins.
Our technicians are certified to install and repair nine major brands, including Carrier, Trane, Lennox, American Standard, Goodman, Rheem, York, Daikin, and Bryant. That means we can recommend the system that fits your home and budget rather than pushing one manufacturer. For a free estimate on Juniper AC Repair, call (855) 419-6908. We answer 24/7. Fast dispatch from 7am to 7pm, Sunday through Friday.
The Bottom Line
A good AC installation in Richardson starts with a real load calculation, not a square-foot guess. It includes a proper pad for our clay soil, a permit through the City of Richardson, and a refrigerant choice matched to the years ahead. It ends with test results written down: static pressure, refrigerant charge, thermostat calibration, and the city inspection paperwork. Hold any contractor to that standard and you’ll get a system that performs through every Texas summer. For homeowners in the Richardson area, we’re glad to walk through it with you. Call (855) 419-6908 for a free estimate.
Written by the team at Juniper AC Repair.