
Last updated November 15, 2026
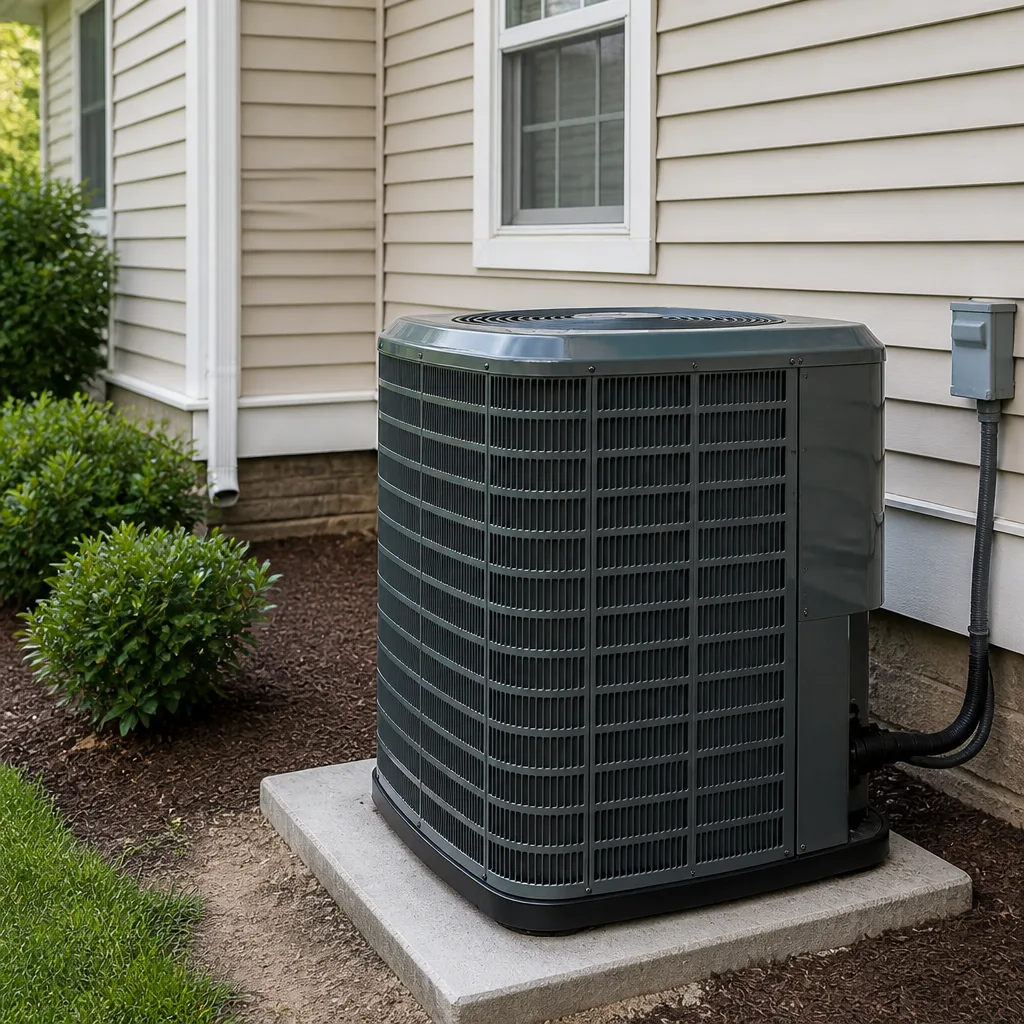 AC repair
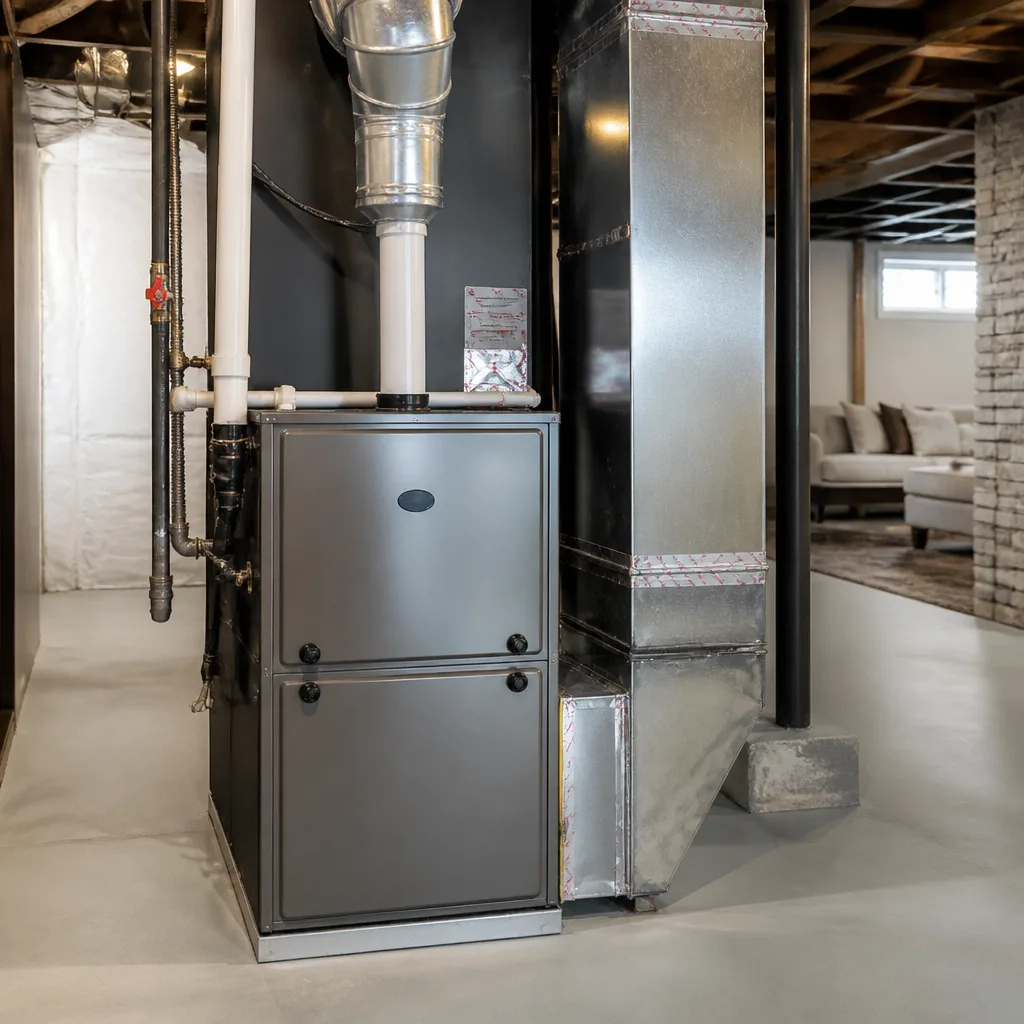 Furnace & heating
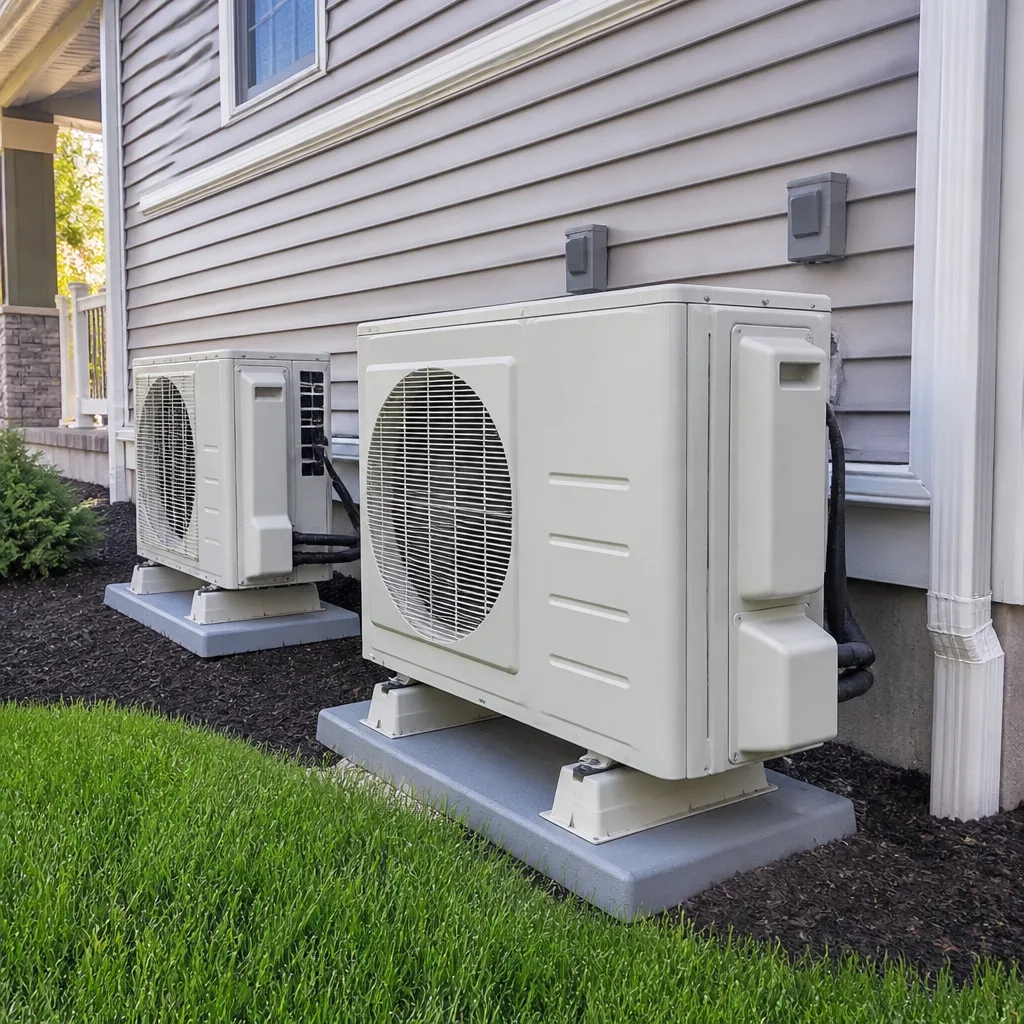 Heat pumps
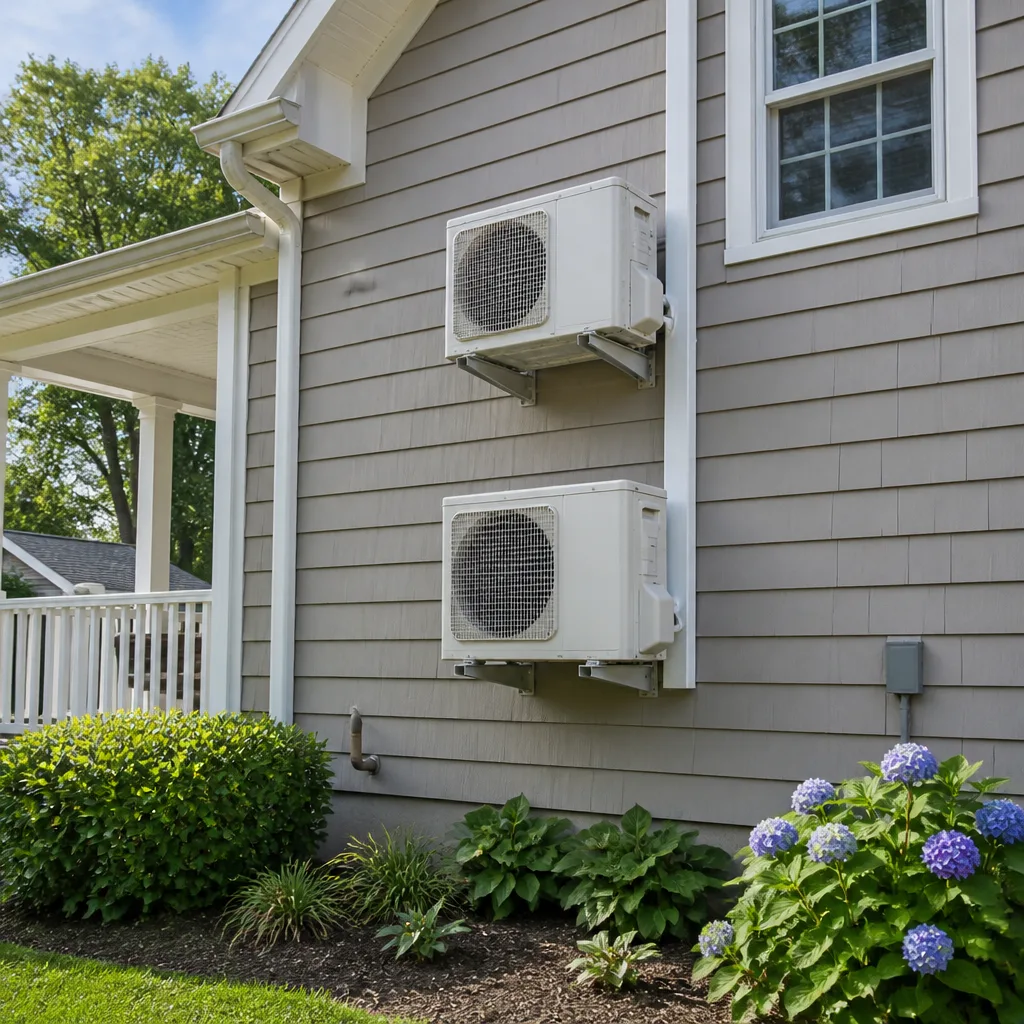 Ductless mini splits
 Carrier
 Trane
 Goodman
Seasonal tune-up and full diagnostic on your Carrier, Trane, or Goodman system - readings shown to you before any repair is proposed
Diagnosis first, numbers second - you approve the repair price before a single part goes in.
Get your free estimateAC Installation Troubleshooting in Richardson: Common Problems and How to Fix Them
If your brand-new AC is short-cycling within the first week of a Richardson summer, the problem was most likely created during installation, not built into the unit. That’s the counterintuitive part most homeowners miss: a new condenser is rarely the defective component. The setup around it usually is. An oversized system, a sloppy refrigerant charge, or ductwork that never got rebalanced after an addition will all show up the moment the outdoor temperature climbs past 95 and the system finally has to work. This guide walks through the installation defects we see most often in Richardson, how to tell a factory fault from an install fault, and what benchmarks to track in the first 72 hours so you have a factual case if you need warranty service.
Quick Answer
Most new-AC problems in Richardson trace back to installation: an oversized unit that short-cycles, an incorrect refrigerant charge, or ductwork pressure that was never balanced for the home’s actual layout. Before you call anyone back, measure the temperature split between supply and return vents, log how long each cooling cycle runs, and write down the dates. That record is what separates a legitimate warranty claim from a guess.
Styles & brands we work with
- AC repair
- Furnace & heating
- Heat pumps
- Ductless mini splits
- Carrier
- Trane
- Goodman
Table of Contents
- How do you tell an installation defect from a factory defect?
- Is an oversized AC worse than an undersized one in Richardson?
- Refrigerant charge error or actual leak: how do you know?
- Why do ductwork pressure problems show up after installation?
- What should you track in the first 72 hours?
- How do you escalate an installation defect claim?
- Brand-specific clues worth knowing
- When to call a professional
How Do You Tell an Installation Defect From a Factory Defect?
A factory defect appears immediately and consistently, regardless of weather or load. An installation defect often hides until the system is stressed. That’s the single most useful distinction for a Richardson homeowner staring at a brand-new condenser that isn’t cooling the way it should. The unit itself is usually fine. Something in how it was set up, sized, charged, or connected is not.
In our experience, factory failures are the minority. When a compressor or control board is genuinely defective, the symptom shows up on day one and stays put. Installation problems are sneakier. They pass a quick hand-check on install day, then surface during the first sustained run of 100-degree afternoons that Richardson gets in July and August.
Here’s how to separate the two before you pick up the phone:
- Check the timing. A problem that shows up only on the hottest afternoons points toward sizing, charge, or airflow. A problem that happens every single cycle, even on mild days, points toward a component.
- Listen at startup. A hard rattle or a compressor that trips the breaker within seconds suggests an electrical or mechanical fault. A system that starts smooth but runs short cycles suggests an install issue.
- Compare rooms. If one side of the house cools fine and another never does, that’s airflow and ductwork, not a bad condenser.
- Note the temperature split. A healthy system pulls 15 to 20 degrees out of the return air. Wide swings either direction usually point to charge or airflow problems, both of which trace to installation.
When a AC installation is done properly, the system gets commissioned with measured readings, not a glance at a thermometer. If your installer left without writing down static pressure, superheat, or subcooling, that’s your first red flag.
Is an Oversized AC Worse Than an Undersized One in Richardson?
Yes, in a humid climate like North Texas, an oversized system does more damage than a slightly undersized one. An oversized unit blasts cold air fast, hits the thermostat setpoint in a few minutes, and shuts off before it has time to pull meaningful moisture out of the air. You end up cool and clammy. That’s the exact opposite of what most homeowners assume when they ask for “a little extra capacity.”
A system that’s marginally undersized runs longer cycles. Longer cycles mean better dehumidification and steadier temperatures. In Richardson’s humid summers, that longer runtime is a feature, not a flaw. The house feels better at 76 degrees with low humidity than at 72 degrees with the air still sticky.
Oversizing symptoms are easy to spot once you know what to watch for:
- The system short-cycles, running in bursts of five to eight minutes instead of the 15 to 20 minutes a properly sized unit typically runs.
- Indoor humidity stays high even though the thermostat reads cold.
- Different rooms swing wildly in temperature because the blower is moving more air than the ducts were designed to handle.
- The outdoor unit cycles on and off so often it never gets a steady rhythm, and the run times shrink further as the day heats up.
Sizing isn’t guesswork. It comes from a load calculation that accounts for square footage, window orientation, insulation, and how much sun a particular wall gets. A Richardson home with west-facing glass in the afternoon sun needs different sizing than an identical floor plan facing north. If your installer sized the new system off the old unit’s nameplate alone, without running a load calculation, that’s the shortcut that produces short-cycling.
Refrigerant Charge Error or Actual Leak: How Do You Know?
Undercharge and overcharge cause different symptoms, and telling them apart is the difference between a quick adjustment and a leak hunt. A system that was undercharged at installation will show low cooling from day one. A system that was properly charged and then loses refrigerant over weeks has a leak somewhere in the line set, the coil, or the fittings.
The homeowner-level clue is timing. Low cooling that’s been present since install day points to a charge error on the contractor’s side. Cooling that worked fine for a month and then slowly faded points to a leak. Both feel similar on a hot afternoon, but they call for very different responses.
What you can actually check:
- Touch the larger insulated line at the outdoor unit. It should feel cold and sweating. Warm and dry can mean low charge; frosted can mean a restriction or low charge. Either way, it needs a technician with gauges.
- Look for oil residue. Refrigerant oil often leaves a faint oily mark at a leak point around fittings and connections.
- Watch the airflow. Weak airflow with a cold line can mean a charge problem; normal airflow with a warm line also points to charge.
This is a job for gauges and a trained hand. Refrigerant work is regulated, and handling it without the right equipment is both unsafe and impractical. If your system is brand new and clearly undercharged, document the readings from your installer’s own paperwork and call them back before any third party touches the system, so the warranty stays intact.
Why Do Ductwork Pressure Problems Show Up After Installation?
Ductwork pressure problems emerge because a new system moves air differently than the house was built to handle. Many Richardson homes have had a sunroom conversion, a garage-to-living-space addition, or a zoned second story added over the years. Each of those changes altered the original airflow paths. A new system installed to the old duct layout can leave whole zones starved for air while other rooms get blasted.
Static pressure is the tell. A properly designed duct system keeps it within the range the blower was built for. When ducts are too small, too long, or full of turns, static pressure climbs, airflow drops, and the system runs hotter and harder than it should. It’s the quiet reason a new unit labors to keep up in a house that never seems to cool evenly.
Signs of a ductwork imbalance after installation:
- Rooms closest to the air handler stay cold while far rooms never reach setpoint.
- Whistling or roaring at supply registers when the blower runs.
- A zoned addition that never gets enough air because the original trunk wasn’t upsized.
- Return air that feels weak or restricted, especially in a converted sunroom with a single undersized return.
If the pattern is uneven room temperatures rather than a system that won’t run, the fix is usually balancing, resizing, or adding returns, not replacing the equipment. A contractor who measures static pressure and room-by-room airflow can pinpoint it. One who only checks the thermostat reading cannot.
What Should You Track in the First 72 Hours?
You should track three numbers: the temperature split between supply and return, the run time per cycle, and the return air temperature. Write them down with the date and time. Those three data points turn a vague “it’s not working right” complaint into a factual record that any contractor, warranty department, or licensing board can evaluate.
Here’s the simple benchmark routine:
- Measure the temperature split. Put a thermometer in a supply register and one in the return grille. Run the system 15 minutes, then compare. A healthy split is roughly 15 to 20 degrees. Consistent splits below 12 or above 22 are worth reporting.
- Time the cycles. Note how long the system runs from start to stop. On a hot afternoon, 15 to 20 minutes with short off periods is normal. Repeated bursts of five to eight minutes are short-cycling.
- Log the return air temperature. This tells you what the system is actually pulling in. If return air reads much warmer than the rest of the house, you may have a duct leak in an attic run.
- Record the outdoor temperature and time of day. A split that’s fine in the morning and poor at 3pm is a load or charge clue.
- Photograph the readings. A dated photo of the thermometer in the register is far more convincing than a remembered number.
Keep the log for a week, not just a day. Patterns matter more than single readings. This is also the kind of record that makes a conversation with your installer go smoother, because you’re talking specifics rather than a feeling.
How Do You Escalate an Installation Defect Claim?
You escalate by documenting first, requesting a written diagnosis second, and involving licensing authorities only after those steps fail. The paper trail is what gives you leverage. Without it, a claim becomes one person’s word against another’s.
The sequence that tends to work:
- Gather your install paperwork. Keep the contract, the equipment model and serial numbers, and any commissioning readings. These establish what was promised and what was measured.
- Write down the symptoms and dates. Use the 72-hour log from the section above. Note every call you made and what you were told.
- Request a written diagnosis. Ask the installing contractor to inspect and put their findings in writing, including whether the issue is install-related or equipment-related.
- Check the contractor’s license status. HVAC contractors in Texas operate under state licensing rules administered by TDLR. A licensed contractor has a defined process for handling complaints, and that gives your claim a formal path.
- Contact the manufacturer if it’s a warranty issue. If the diagnosis points to the equipment, the manufacturer’s warranty process is the route. This is where brand familiarity helps; a technician who already knows your Carrier or Trane system can navigate the warranty steps faster.
Texas licensing matters here because it’s your leverage. A licensed contractor is accountable to a state board, and an unlicensed one isn’t. If you’re not sure who installed your system, or you’ve inherited a recent install with a house purchase, this is the moment to verify it. When we look at a problem install, our technicians have up to 14 years of experience reading exactly these situations, and the first thing we confirm is what the paperwork says versus what the readings show.
Brand-Specific Clues Worth Knowing
Brand-specific clues help because different manufacturers build in different tells, and knowing yours shortens the diagnostic. We’re qualified to service nine of the most widely owned HVAC brands, including Carrier, Trane, Bryant, and American Standard, so we arrive already familiar with the equipment rather than figuring it out on the driveway.
In practice, a few patterns come up often. Carrier and Bryant systems share a lot of engineering, so the same airflow and charge checks tend to apply. Trane and American Standard units, also closely related, often show static pressure issues loudly through register noise. When a homeowner tells us which brand they have before we arrive, we can pull up the right service expectations and the right warranty path faster.
That’s the practical value of working across brands rather than specializing in one. We can look at a Goodman value unit or a Trane premium system and judge it on its own merits, not against a single manufacturer’s talking points. If the fix is a charge adjustment, we say so. If the real problem is an undersized return in a converted sunroom, we say that instead.
Our coverage runs both directions, too. A home with a cooling problem in July often has a furnace repair coming in January, and having one company that already knows both systems saves a second search. If you need a full replacement rather than a repair, Juniper AC Repair handles AC installation and furnace replacement under one name. If you’re weighing a new system against a costly repair, our guide to Richardson home comfort walks through how to frame that decision with actual numbers.
Common Mistakes to Avoid
- Sizing the new unit off the old nameplate. Installing “the same size as before” skips the load calculation that accounts for a home’s actual windows, insulation, and additions. It’s the most common path to an oversized system that short-cycles and leaves the house humid.
- Not tracking the first 72 hours. The best evidence you’ll ever have is the log you keep in the first three days. Skipping it means relying on memory later, which carries no weight in a warranty claim.
- Assuming a new system means a new duct layout. Many Richardson homes have had sunroom conversions and zoned additions, and the original ductwork often wasn’t resized to match. A new condenser on old ducts still produces uneven cooling.
- Confusing humidity with temperature. A house that feels clammy at 72 degrees usually has an oversized system or an airflow problem, not a thermostat set too high. Chasing lower numbers won’t fix it.
- Letting a third party touch a warranty system. If the install is new and under warranty, call the original installer first. Unauthorized refrigerant work can void coverage before you’ve established the defect.
- Accepting “it’s just the heat” as an answer. A properly installed and commissioned system handles a Richardson July. If it can’t hold setpoint on a hot afternoon, that’s a measurable problem, not a fact of life.
- Skipping the paperwork on the way in. Contract, model and serial numbers, and commissioning readings are cheap to collect and expensive to recreate. Keep them with your home records.
See the difference
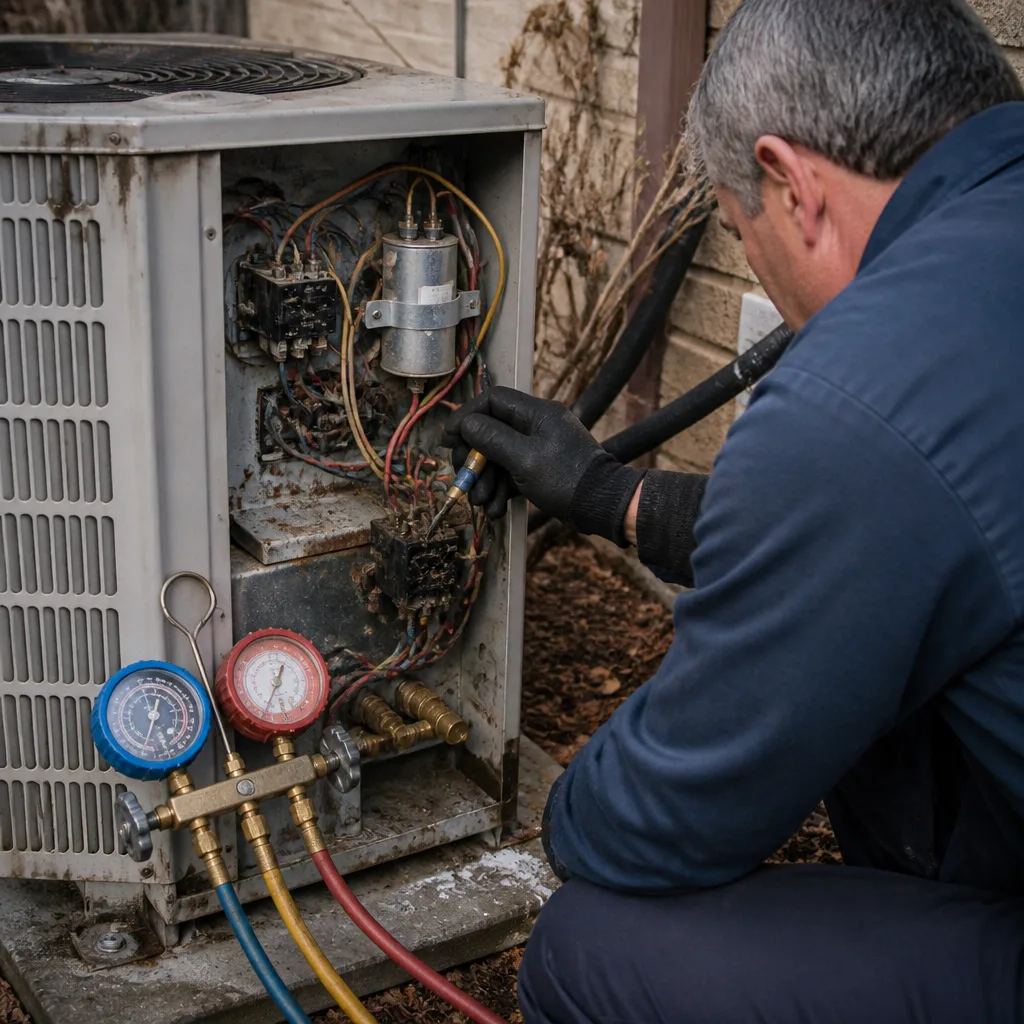 Before
 After
 Before
 After
 Before
 After
When to Call a Professional
Call a professional when the temperature split stays outside 15 to 20 degrees after a clean filter change, when the system short-cycles through a hot afternoon, or when the unit trips the breaker or runs but delivers no cooling. Call immediately if you smell burning, hear hard mechanical noise from the outdoor unit, or see ice on the indoor coil or line set. Those are situations that get worse with runtime and can cost more to fix the longer they go. Refrigerant work and electrical diagnosis aren’t homeowner jobs; they need gauges, meters, and training.
When a new install is underperforming, the goal is a measured diagnosis and a written price before any work starts, not a guess from the driveway. Juniper AC Repair offers free estimates in Richardson. Call (855) 419-6908. We answer 24/7. Fast dispatch from 7am to 7pm, Sunday through Friday. Our technicians have up to 14 years of experience and arrive familiar with Carrier, Trane, Bryant, American Standard, and five more of the most widely owned brands, so the diagnostic starts with your equipment rather than from scratch.
Frequently Asked Questions
No. Short-cycling on a new system usually means the unit is oversized, the charge is off, or the ductwork wasn’t balanced for the home’s actual layout. A properly installed system should run steady cycles of roughly 15 to 20 minutes on a hot afternoon. Log the run times and call (855) 419-6908 for an exact quote. Estimates are free.
You know it was sized correctly when the installer can show a load calculation based on your home’s square footage, window orientation, and insulation, not just the old unit’s nameplate. Ask for that document. Without it, oversizing is a real risk, and an oversized unit cools fast but leaves the house humid. Call (855) 419-6908 if you want a second look at the sizing.
A healthy system pulls roughly 15 to 20 degrees out of the return air. Measure at a supply register and a return grille after 15 minutes of runtime. Consistent splits well outside that range point to a charge or airflow problem worth reporting. Call (855) 419-6908 for a measured diagnosis; estimates are free.
Yes. Converted sunrooms and zoned additions often keep the original single return, which can’t move enough air for the space. The result is a room that stays warm while the rest of the house cools fine. The fix is usually balancing or adding return capacity, not new equipment. Call (855) 419-6908 to have the static pressure measured.
Collect the contract, equipment model and serial numbers, any commissioning readings, and a dated log of the symptoms and your calls. That package is what turns a complaint into a claim. Texas HVAC contractors are licensed through TDLR, so a formal complaint path exists for licensed installers. Call (855) 419-6908 if you want the readings checked first.
Very likely. We’re certified to install and repair nine of the most widely owned HVAC brands, including Carrier, Trane, Lennox, Goodman, Rheem, York, Daikin, Bryant, and American Standard. That means the technician knows your exact equipment before arrival. Call (855) 419-6908 for a free estimate, and have your model number handy.
The Bottom Line
Most post-installation AC problems in Richardson are installation problems, and the good news is they’re diagnosable with a thermometer, a clock, and a notebook. Measure the temperature split, time the cycles, log the return air temperature, and keep the dates. That record tells you whether you’re dealing with an oversized unit, a charge error, or a ductwork imbalance, and it gives you real leverage if you need warranty service. If the readings are off, don’t wait for the system to fail on the hottest day of the year. Juniper AC Repair offers free estimates in Richardson. Call (855) 419-6908. We answer 24/7. Fast dispatch from 7am to 7pm, Sunday through Friday.
Written by the team at Juniper AC Repair.